If you were to ask 10 different calligraphers to write 1 word in a traditional calligraphy style such as Copperplate, you'll most likely get 10 script work that looks exactly the same.
Why?
That's because traditional scripts often adhere to a strict set of rules.
Letter form and structure, and corresponding basic strokes and letters are the done the same way.
Copperplate Calligraphy (Base)
Here's how to stand out:
And that's by...
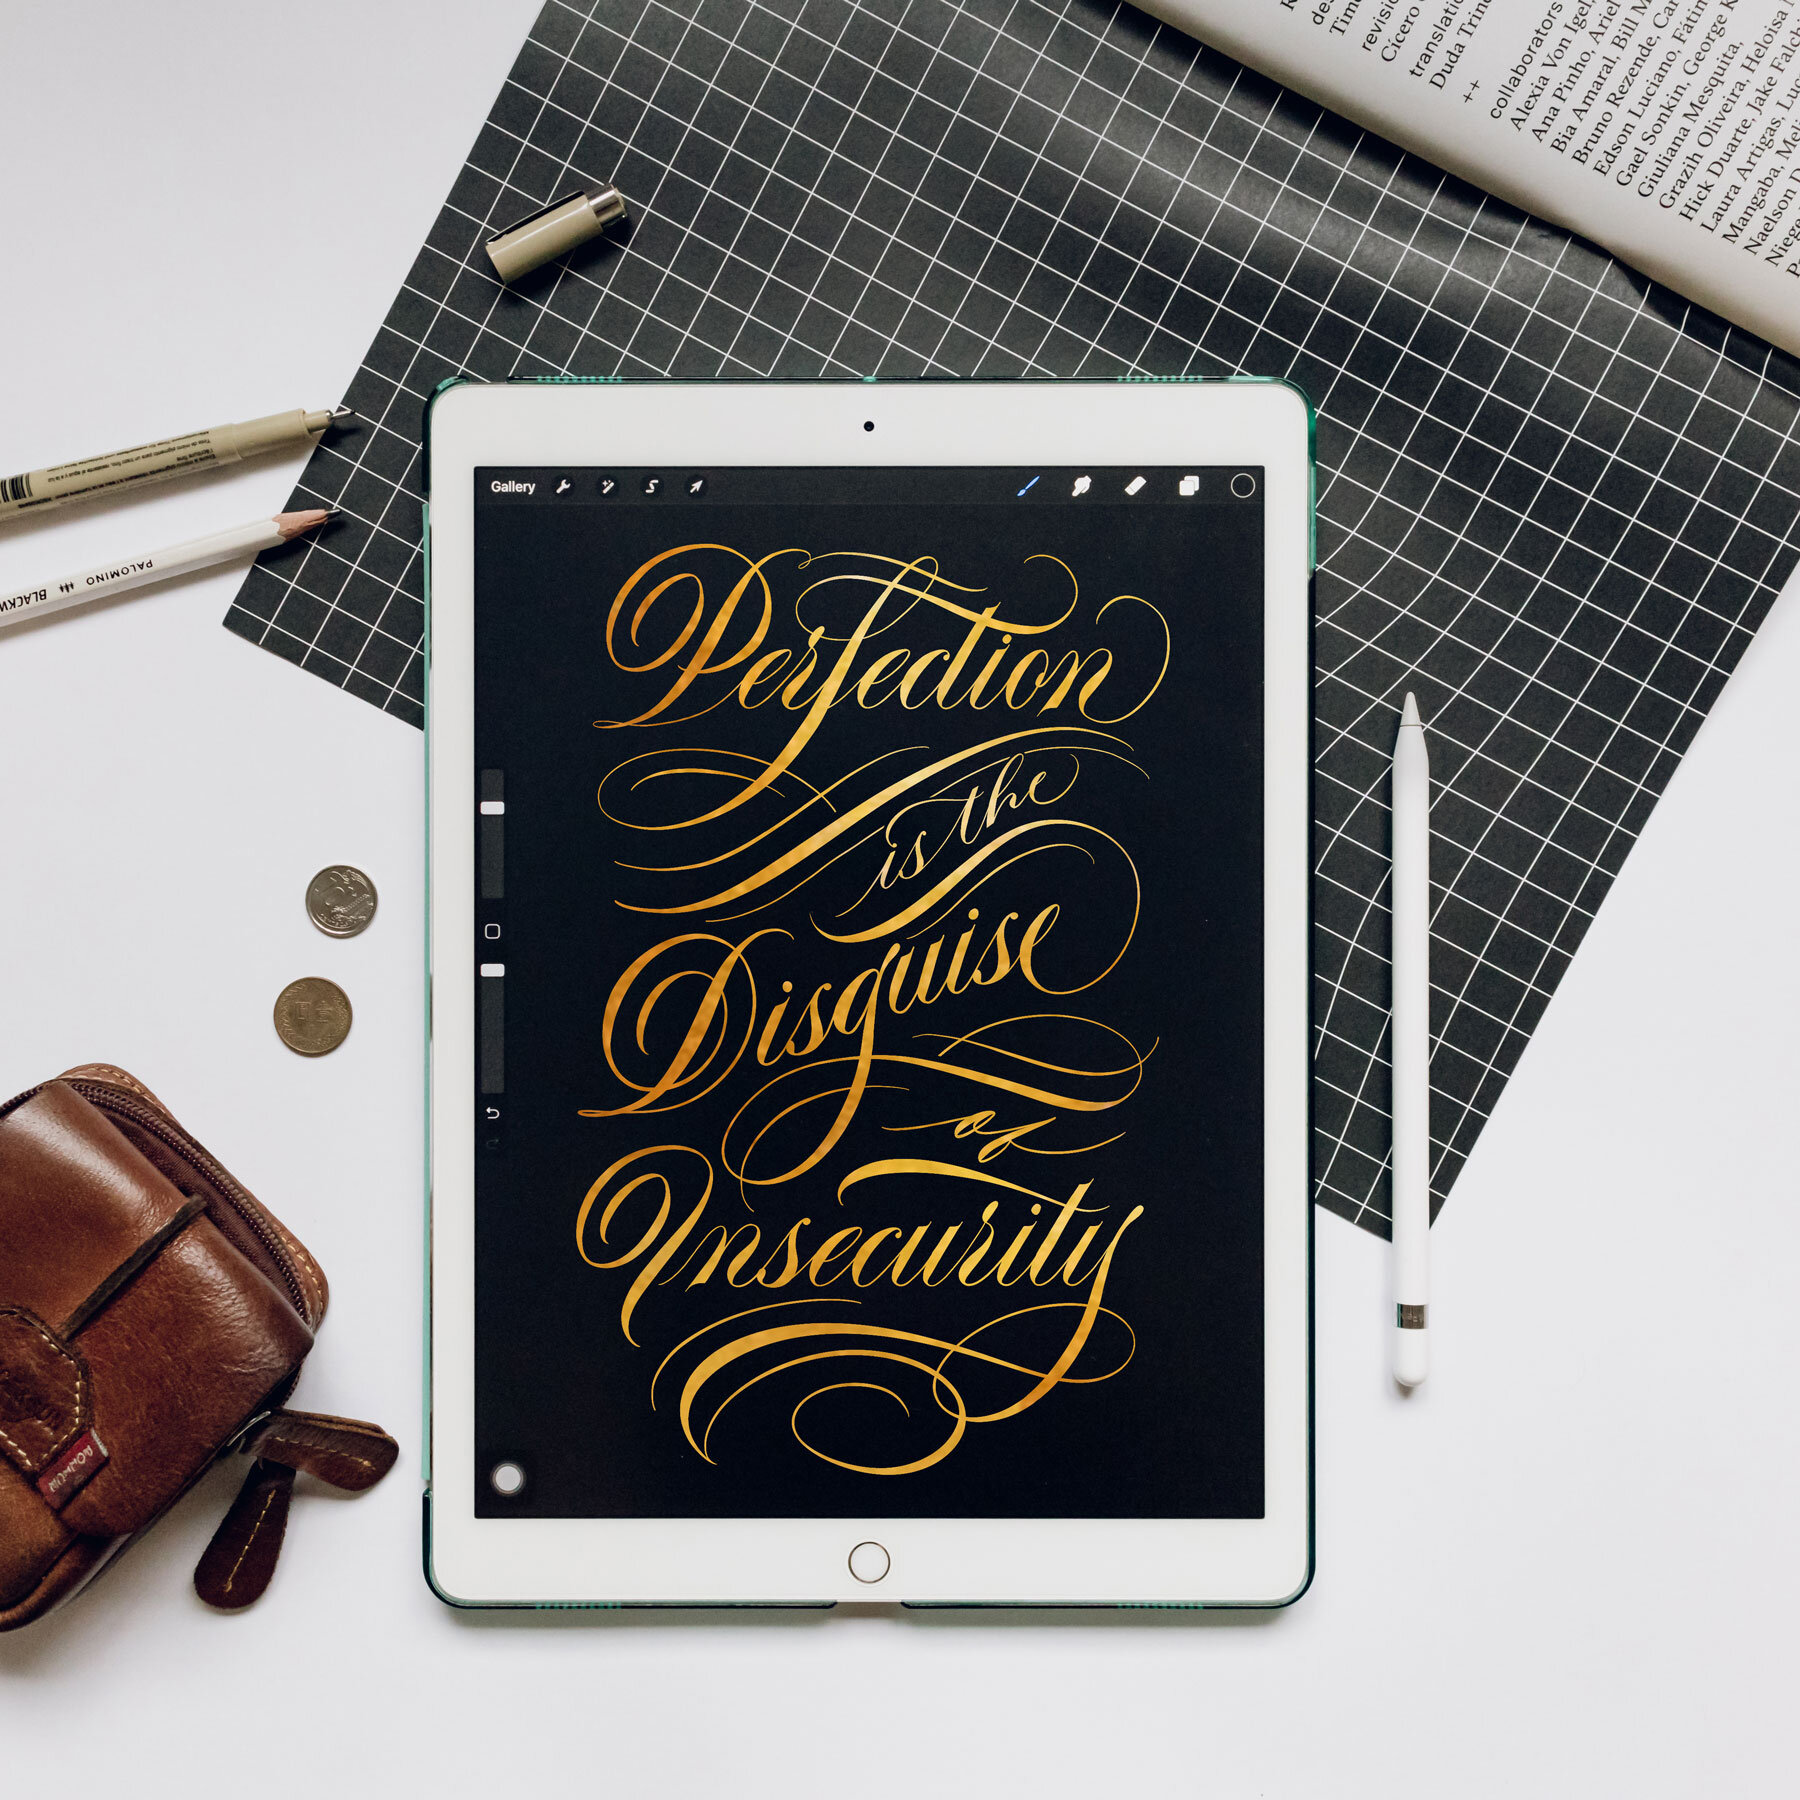
Incorporating new techniques such as creative flourishing and ligatures:
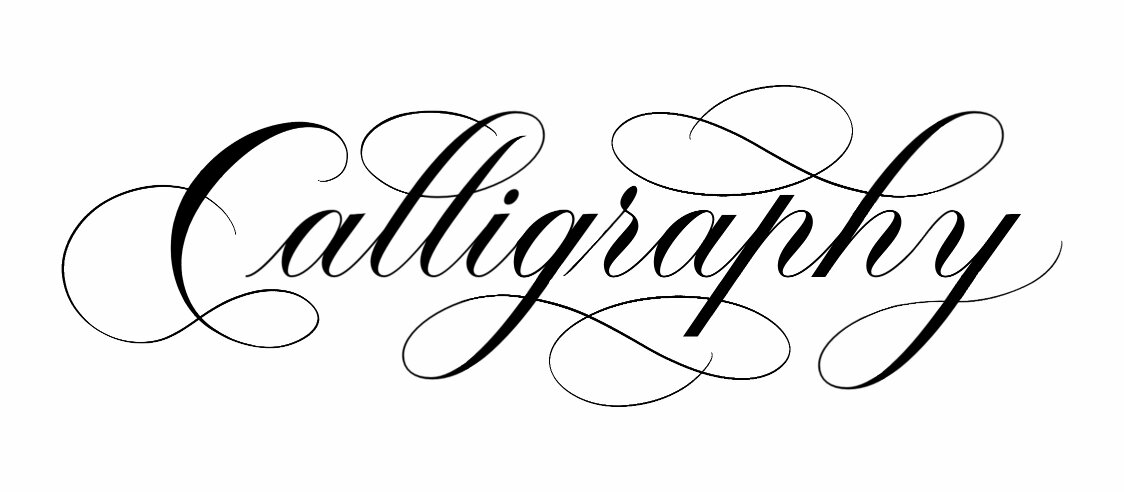
Copperplate Calligraphy (with flourishes and ligatures)
Here's a quick breakdown:
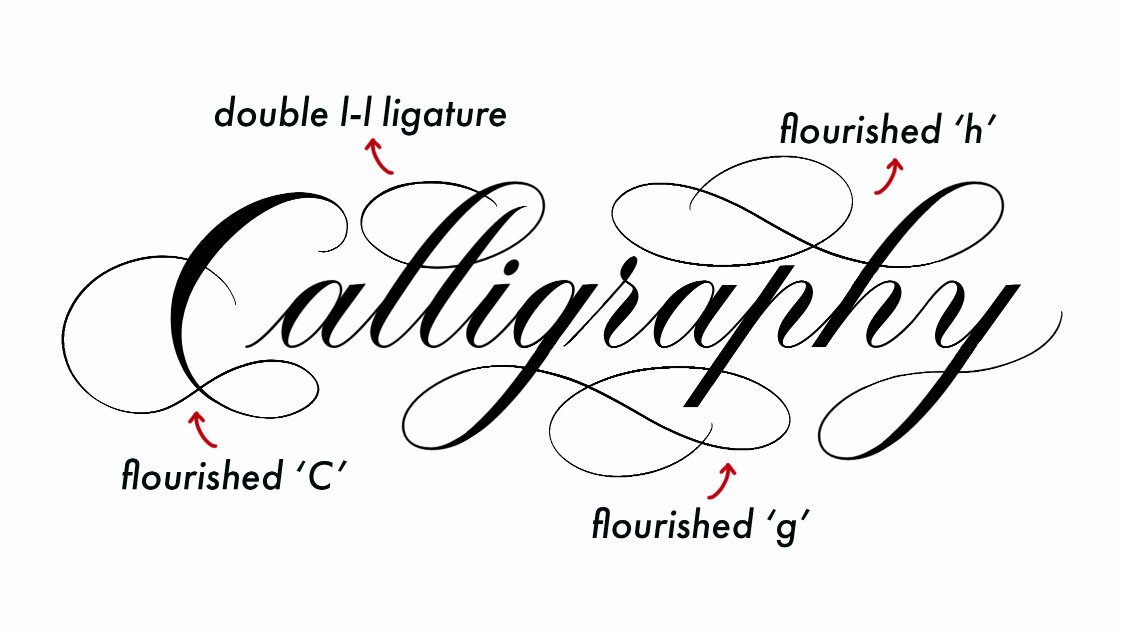
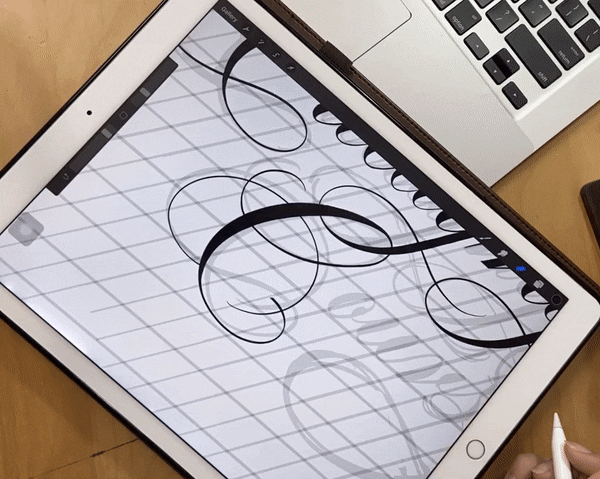
There are SO many different ways to flourish a single letter to create an elegant, ornamental look to your letters.
Take the lowercase letter y for example... here are 7 simple ways to flourish it! But trust me, we can definitely create 10 - 20 more variations, ranging from simple to moderate to super complex ;) Yep, I’m not joking!

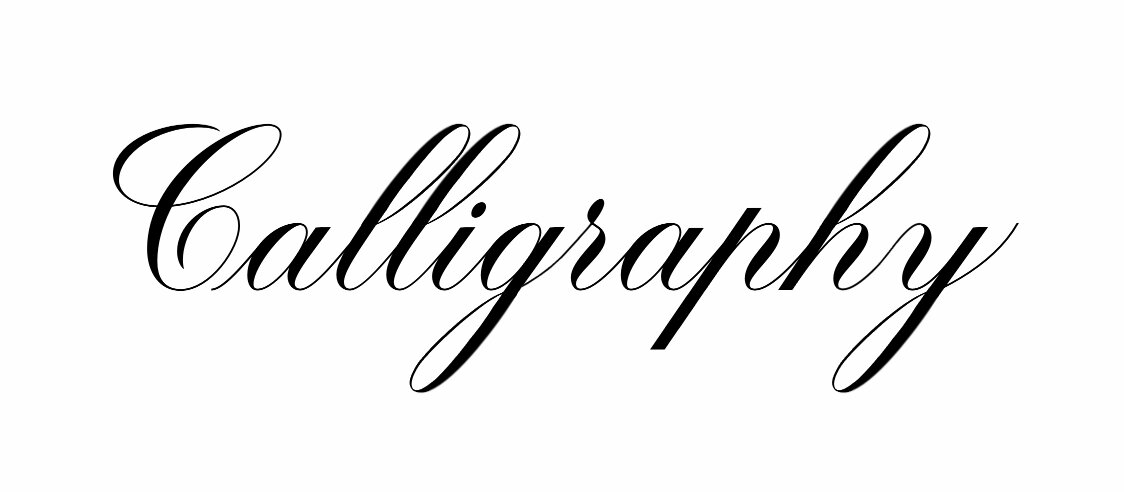
Likewise, ligatures (like the double l-l in “Calligraphy”) can really help your work stand out. Not everyone's able to identify harmonious letter relationships between different letters!
But once you understand key calligraphy concepts and most importantly, understand form and structure - you'll definitely be able to train your eyes to...
Identify letter relationships and
Create creative interactions between your letters: this could mean double ligatures, triple ligatures, quadruple ligatures etc.
Or even: combining flourishing with ligatures to produce undeniably mesmerizing results.
Flourishing and ligatures are SO much fun, and it's one of my favourite things about calligraphy. After mastering these, these new skills will help in creating effective compositions and layouts as well.
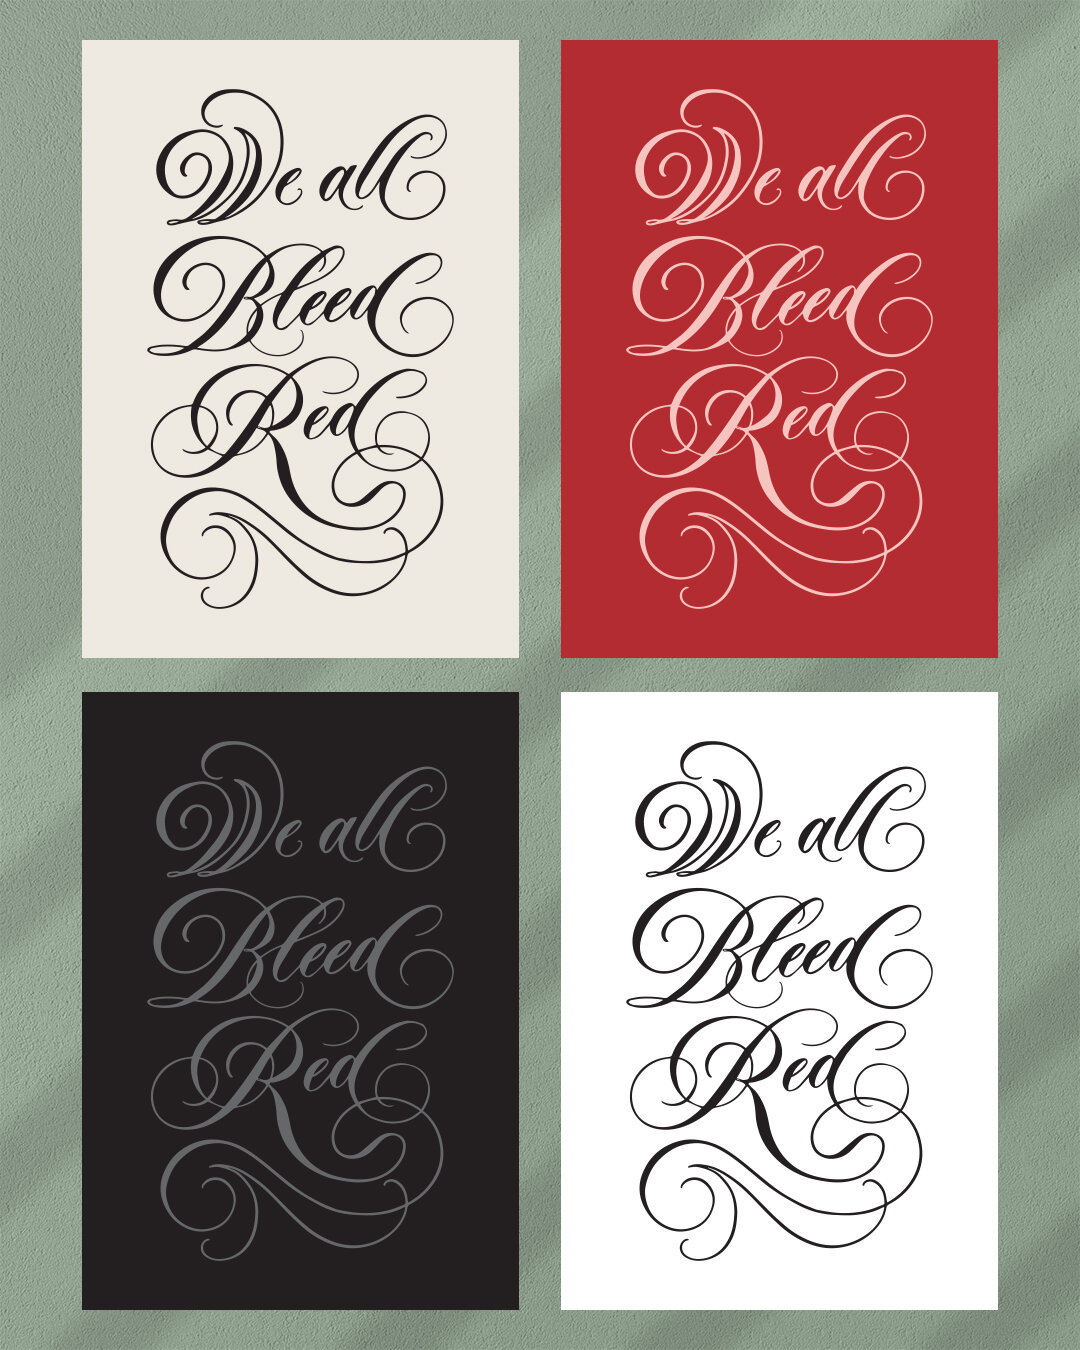
Last but not least... another way to create unique work that stands out is modern calligraphy!
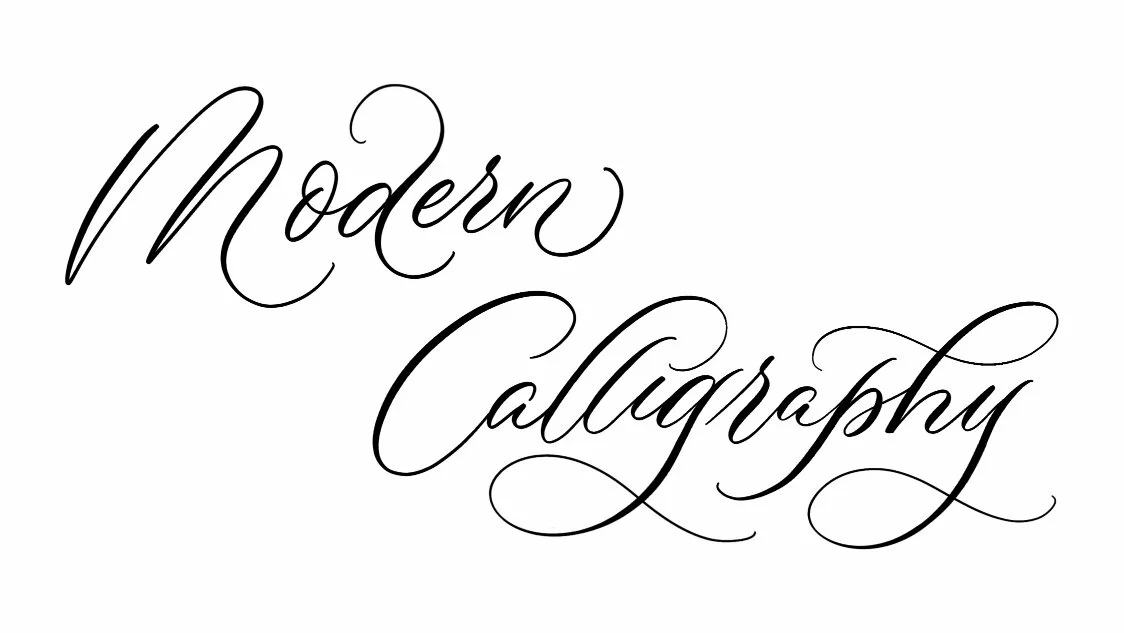
After learning traditional script, we can now break the rules and play with modern calligraphy.
If you were to ask 10 different calligraphers to write 1 word in a modern calligraphy style, you'll most likely get 10 script work that looks fundamentally different and unique.
And that's because there are sooooo many ways to break the rules! The above is just one sample style, but know that you can create so much more.
Let me know if this is helpful. I'd love to know... which do you prefer: traditional or modern calligraphy, and why? Feel free to comment below to share your thoughts with me!

Pssst. Interested to learn more about calligraphy? Check out my online course: The Ultimate Calligraphy Course and watch a free preview lesson today!