
Hi everyone! I’ve engraved on various materials before such as glass and plastic (process tutorial on engraving on glass is linked here, and plastic is linked here).
And recently, lots of metal! So I thought I’d share what I learnt with you, along with my full process of how I engrave on metal.
First off, the engraving tool. It is called a nail drill or a dental drill.
And the reason how I know that is because if you go to a manicure or pedicure, they would usually use a similar tool but they will switch out the burrs that you know instead of using a diamond burr, they would use a different burr to do the filing of the nails and other nail things. And for dentists, it's a really uncanny encounter because I went for a wisdom tooth extraction. And it's like almost like a deja vu moment because I usually engrave on different items like glass and metal and acrylic and all like different products for clients. And when I was doing the wisdom tooth extraction, the dentist pulled out a tool that looks exactly like my engraver and he used it on my teeth. Yes. So that's how I know um it's also used by dentists so you can either Google a dental drill or a nail drill, and something similar would pop up.
Or if you want to avoid any hassle - I will link down the product links to the 3 engravers that I currently have and you can definitely check those out. And I will broadly explain the differences as well so that you can make a more informed decision.
Engraving Tool 1: Dremel Stylo +
So the first engraver that I got was the Dremel Stylo+. I would highly recommend this over the other Dremel tools in the market because this option here is ergonomic, small and lightweight which is very important, at least to me when I'm engraving. Because I want to make sure that I can create a smooth line and I can control it well, I don't think I can do that with a bulky and heavy engraver. That being said, there are also several disadvantages to the Dremel Stylo+.
It is fairly noisy. It almost sounds like you know when your neighbour is doing a renovation next door, it kind of sounds like that. I do have a comparison video of the noise level between the Dremel and the other engravers that I have. Link here.
It is not brushless. What brushless just mean is whether or not you can feel the vibration in your hand when you're engraving. I would say if you are a full-time engraver or if you are doing a long-term project, definitely you want to consider this feature in mind because while it is bearable and it's not terribly uncomfortable, it still exists.
It only goes up to 25k RPM. While it is able to cut into glass and metal and all that, it's not the highest horsepower machine out there available. So let's just put it as that meaning it's not bad but it's not great, you know what I mean?
Engraving Tools 2 & 3: Nail Drill / Dental Drill
Moving on, the next two engravers that I'm gonna talk about are exactly the same. It is the one I’m using in my above Youtube video. The difference is they are packaged differently and priced differently as well.
Broadly speaking, these two engravers are brushless, no vibration on the hand, very lightweight, and small. It is also you know higher horsepower; it goes up to 35k RPM. That said, you should also be able to find engravers out there in the market where it goes up even higher up to 40K RPM so if you prefer 40K definitely feel free to Google for those options.
The second engraver I got is from Laura, she goes by the name of @ingkstudio and she's from Australia. She does this all-in-one kit, beautifully packaged, so it includes everything that you need in a project from start to finish. Here is the link to her product. Because of that the price point is higher as well so I paid a total of 570 SGD (435 USD) after the conversion and inclusive of shipping and tax right so the shipping and tax are already well over a hundred so you may want to check it out and kind of see how much it costs depending on where you stay and what are your local tax rules.
But other than that you also want to consider the electrical power point. The plug in Australia is not the same as the plug in Singapore so I do have to purchase an additional adapter to make sure I can use it in Singapore.
So moving forward, I then purchased a third engraver and this is my backup engraver for events, so it's very important that when you're doing live events you want to make sure you have two so just in case one dies out, you have the other as your backup. This backup engraver is the exact same ie. it looks exactly the same it performs exactly the same as the engraver that I got from Laura. The difference is the price. I got my 3rd engraver from Alibaba. It cost me 120 SGD dollars nett or 90 USD and I was also able to choose the power plug, right so there's an option of US, UK and EU and because UK is the same as Singapore, I chose the UK option. So hopefully that's helpful for you to make an informed decision. *Update: Here is the link to purchase something similar.
Or if you’re in Singapore, here’s a more affordable option linked here.
Engraving Process
Before I start any engraving, if I see that the surface is dirty, I will wipe it down with a wet wipe or rubbing alcohol. Once that is done, then I will proceed with the engraving itself.
You also want to make sure that the amount of pressure that you apply is even and consistent. Meaning, you do not want to apply heavy pressure. You want to go slow and steady and let the tool work for you. There's no need at all to apply too heavy pressure. You know if it's too heavy when your hand starts to get tired quite easily from holding it really tight and applying heavy weight on the item itself. At the same time, you do not want to apply too light pressure. If it's too light, first of all, you wouldn't even make a dent on the item but likewise, if it's too light and furthermore if it's not consistent, you may also see that your line is not smooth. To get a smooth line, you want to make sure when you are drawing one line from point A to point B, the amount of pressure applied is exactly the same. Consistent, even pressure. That's how you get a smooth line.
If it's not smooth, it's very likely either 1. The speed is not right. Meaning if you're going too fast or too slow abruptly, you would maybe have a skipping of lines or 2. It could also be the material itself. Yeah, let's just blame the material (haha!) Certain materials right for example a low-grade metal is going to be smooth, it's gonna be slippery, it's gonna be very hard to control so I highly recommend you slow down two things 1. the engraving speed itself ie. the RPM and 2. slow down the writing speed meaning your own hand like the strokes that you are doing in real life.
Other than that, you also want to consider:
Is the metal coated or uncoated?
What type of metal is it?
Is it aluminium, is it brass, copper, or stainless steel?
Things like that so I do not have a fixed RPM magic number to provide you with because it really depends on all the above factors that I've just mentioned.
How to draft a design before engraving if you’re not comfortable with free-hand engraving yet
Use a ruler as well as a water-based marker or pen to draft two things 1. guidelines as well as 2. my calligraphy design. You can either use a water-based marker or a water-based pen to do this. Something inexpensive would be great because you're gonna wipe it off later on so there's no need to use an expensive Molotow one for all acrylic marker or anything like that. Something inexpensive like a micron or a posca pen will do.
After I'm done with the draft, I'm gonna proceed with the engraving and trace over the lines that I just drew. After I trace finished the lines, I will then use a wet wipe or a spray bottle and just spritz it down. Because the ink is water-based, you can easily remove the draft design and that would leave your calligraphy design on top.
Hot Tip 1:
If you're doing a monoline engraving, use a bullet tip. If you are doing a shaded script engraving, you can use a water-based brush pen. Because that's gonna show you the thicks and thins just by using the brush pen itself so there's no need to do any faux calligraphy in that sense because you already have the design there.
Hot Tip 2:
If the pen ink is not showing up on the item itself or if you see that the surface of the item is repelling the ink, use a marker instead or a wax pencil such as the Stabilo All pencil.
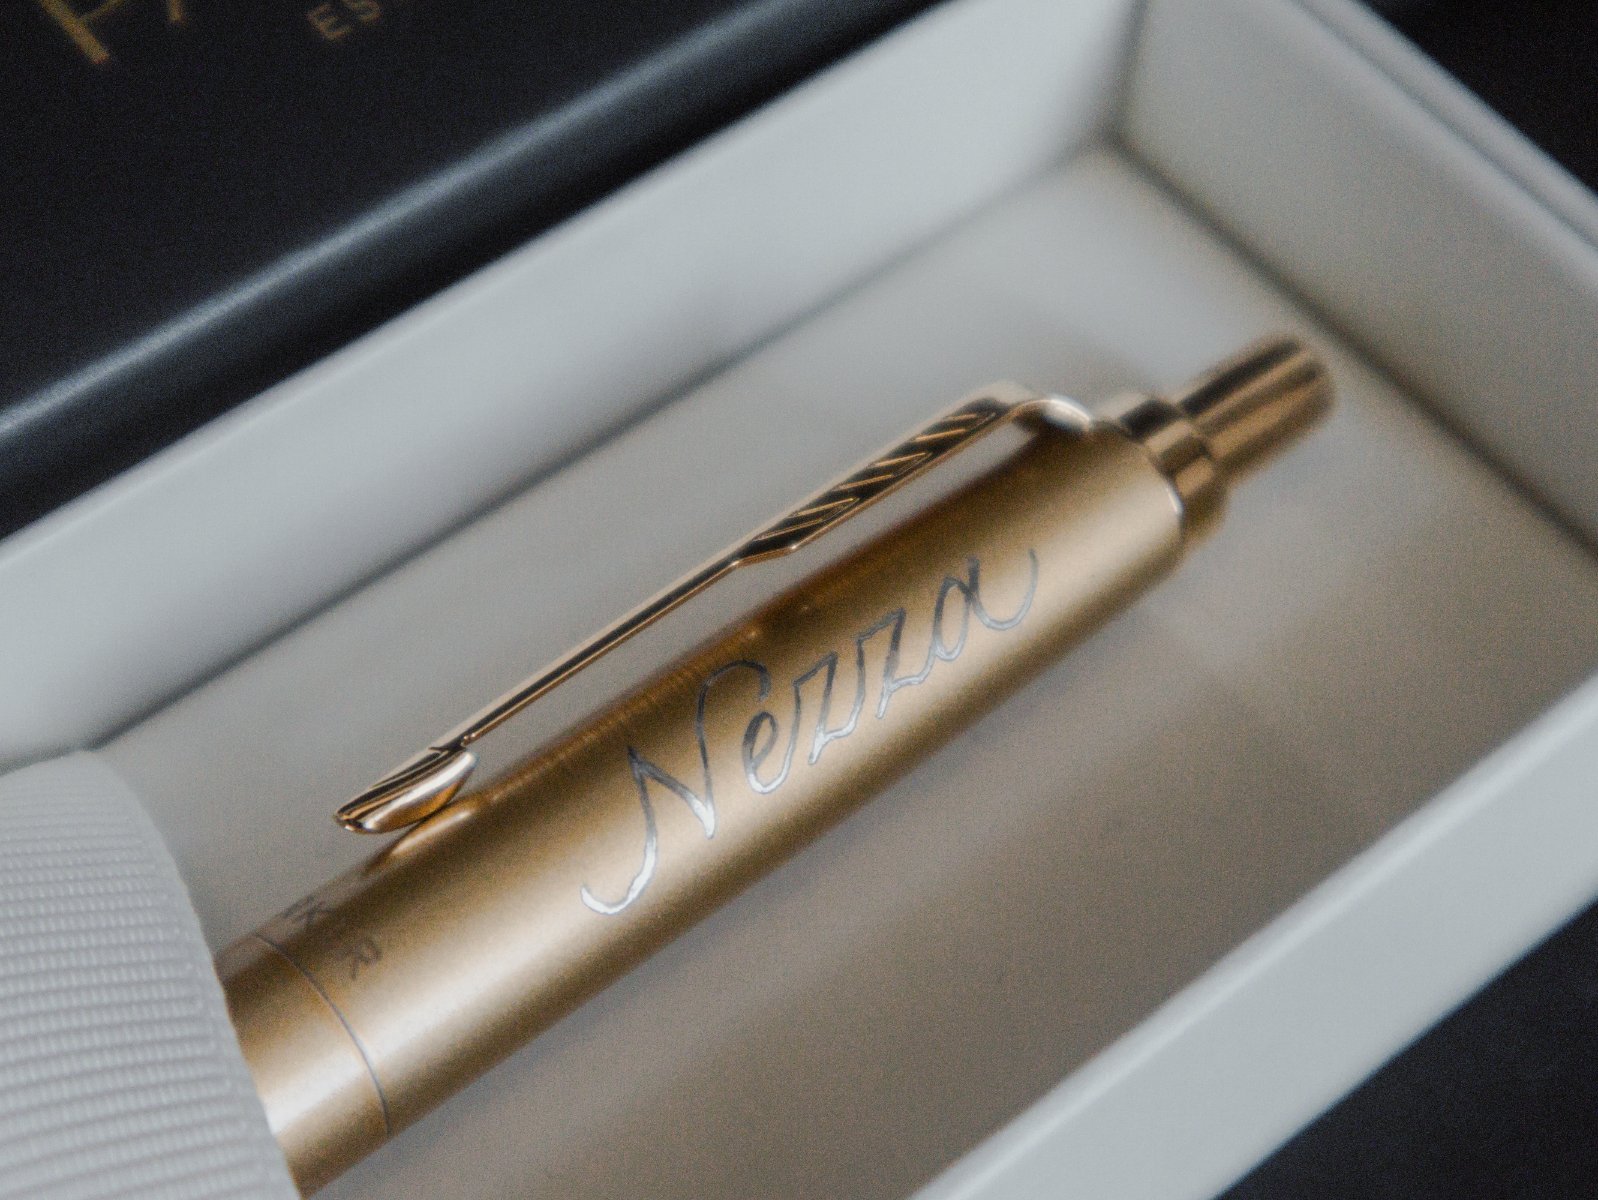
That’s all! I hope you will find it helpful for your personal projects as well as our client projects.
At the same time, if you're looking to master calligraphy I do teach an online course. It's called The Ultimate Calligraphy Course. There's also a free class lesson for you to view right now so do check it out if you're interested. There's no experience required because I teach everything from the ground up: basics, intermediate, all the way to advance. If not, if you have any questions about today's video feel free to leave them down below and I'll be happy to answer them!
