
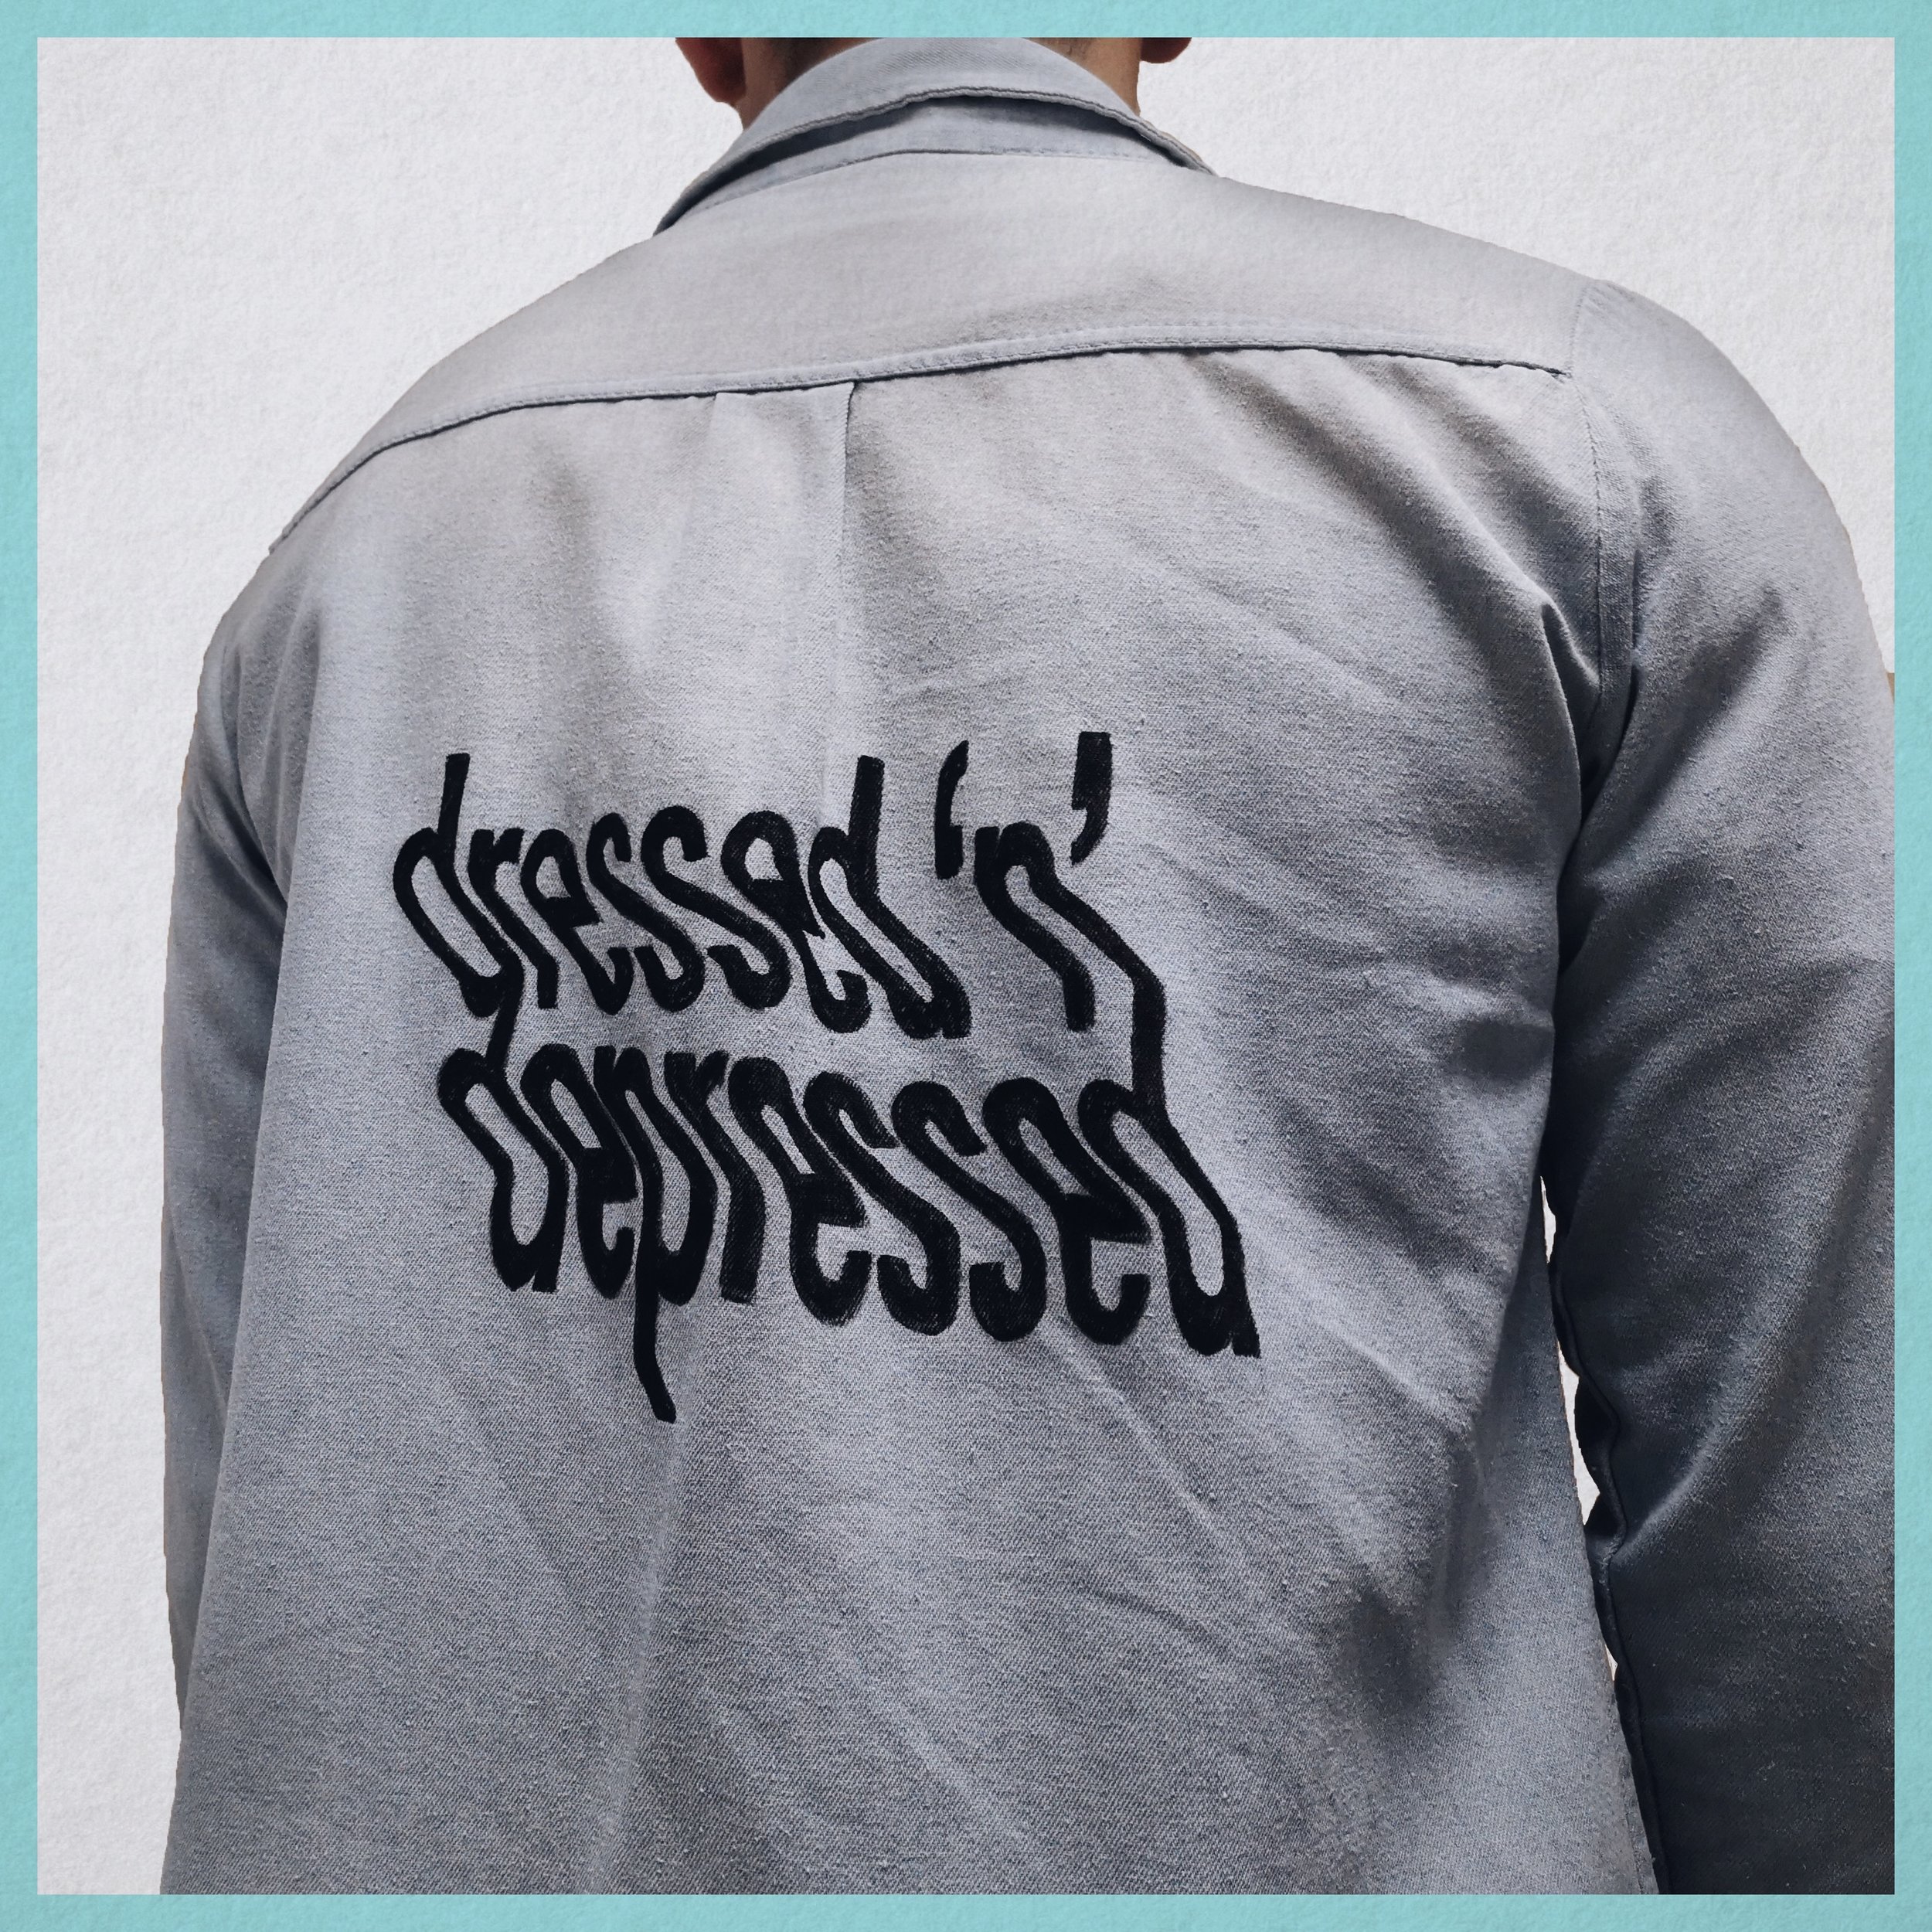
If you’re up to experiment on other surfaces other than paper, read on! There are a ton of other items and surfaces that can be your canvas – think: mugs, tote bags, shirts and even walls. In this case, I’ve chose to draw on my denim outerwear.

Materials You’ll Need:
1. Any pencils you’ve on hand
2. Tracing paper
3. Carbon/ graphite/ transfer paper - I use Saral graphite paper for large scale projects, and carbon paper for small scale projects.
4. Your favourite brand of acrylic/ fabric maker – for me, I chose Molotow’s Acrylic Markers as my weapon of choice
5. Masking tape (optional)
6. An unconventional canvas
7. Your favourite Spotify playlist
Here’s How:
1. Create a design around your favourite quote/ phrase – bonus points if it’s relevant to your canvas for that *conceptual flair*
In this case, I came up with “dressed and depressed” (inspired by my monstrous mood swings during the time of the month) It’s related to apparel and I’m loving the rhyme going on. You’ll notice I switched out “and” with “n” so that the two will flow and line up better when stacked.
2. If you’ve done step 1 on a piece of paper, place your tracing paper above your sketch and trace it.
3. Place the carbon paper above the surface area of your canvas, followed by your tracing paper above the carbon paper. Make sure to lay the carbon paper with carbon side down. Tape them down to secure.

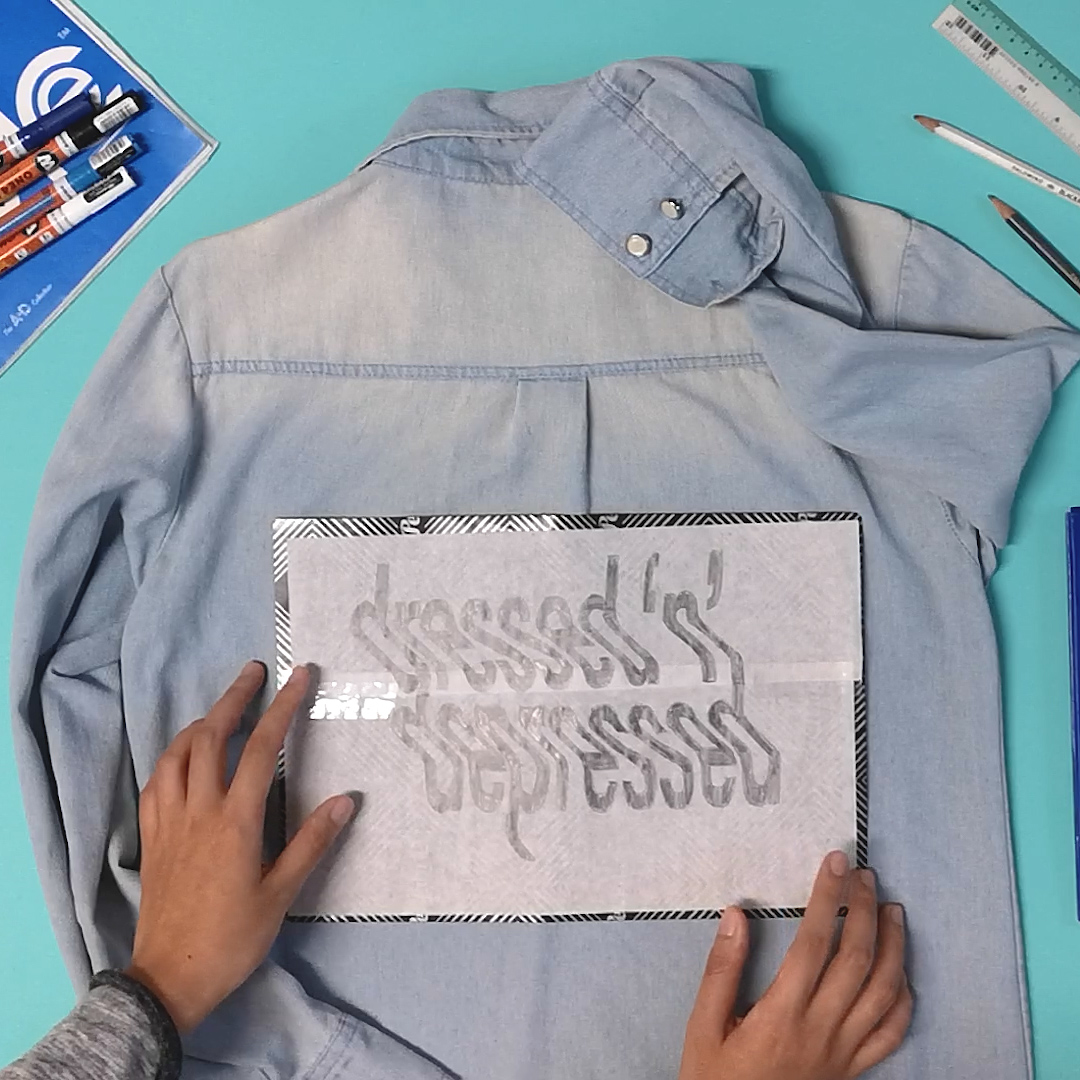

4. Trace around your design with any pencil. This process transfers any markings made by the pressure applied by the pencil. Remember to check back to see if the design has transferred evenly. If not, my dear, you’re too gentle!

5. You should have your final design transferred on your canvas. Now, turn up the music, it’s time to ink! Depending on the size of your canvas, you can opt for a more fine-tip marker (e.g. 1.5mm Molotow Marker) to outline and a 4mm Molotow Marker for the fills.

6. Wait for the ink to be permanently dry, 24 hours’ best. To ensure washability, remember to heat set it using an iron with a piece of parchment/ printing paper in between the iron and your artwork.
Congrats, you did it! Now go rock that style.
Much Love,
Leah
PS: I did the same process with a canvas tote bag, watch the time-lapse here: